
I inherited my PC from my Uncle and every time I create a new Word document, it shows his name as the author/owner. How can I update it to have my own name as the author of a document?
There are a number of different places where an Office document can pick up an author’s name. We’re not talking about the title of the actual document – since it’s pretty easy to edit and update, and since all new documents open up blank – but rather than information encoded in the document itself that Word uses to track ownership (and revisions, if enabled). Give someone else your computer, install a copy of Microsoft Word on their computer, or change your own name, and at some point, this will need to be changed and updated. If not, it’s as you say; every document you create will list someone else as the actual author and creator of the document.
What’s complicated is that your author name can be picked up by the program itself, but it can also be pulled from your Microsoft account. Which might be controlled by the entity or organization for which you work. My Microsoft license for Office is through the University of Denver, for example, where I teach classes. Handy to have the entire office suite, but it means that the University has control over this information. Sort of. Let’s have a look.
FINDING OPTIONS AND SETTINGS IN MICROSOFT WORD
A good starting point for our exploration is to figure out where the heck the Options menu is in the latest generation of Microsoft Word. I’ll start by showing a document – a copy of Romeo & Juliet that I’m reading:
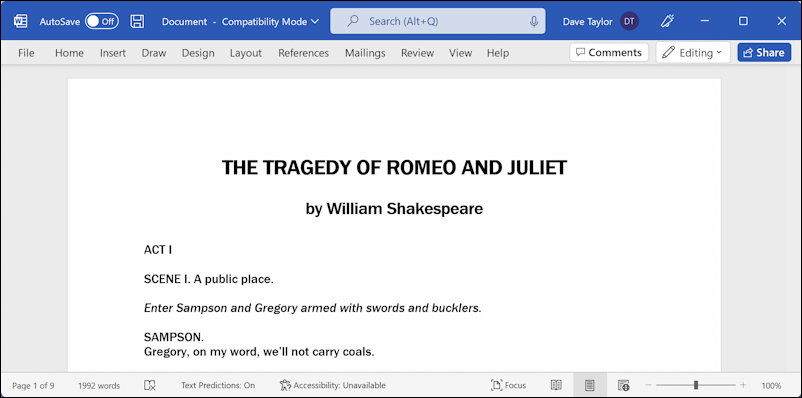
Did you know you could still hide that ribbon bar if you wanted? It’s great when you’re actively editing, but if you’re reading through a document, knowing how to hide it can be very helpful. And that’s best illustrated by me bringing it back with the “View” option along the top. A click on it and the ribbon reappears!
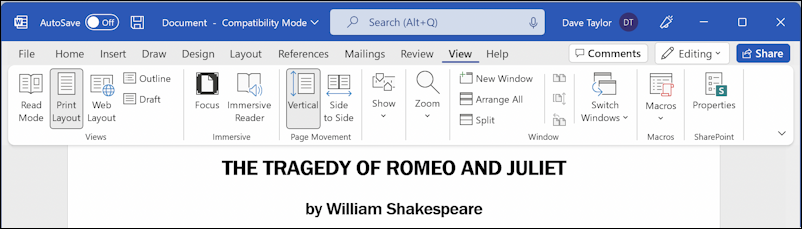
If you click on the “v” icon on the lower right corner of the ribbon bar, you can specify when it should show up (or not) for future documents. But our goal is to find settings, preferences, and options. That’s rather hidden and in a weird spot. Click on “File” on the top left and rather than a menu appearing, an entirely new screen replaces your document view:
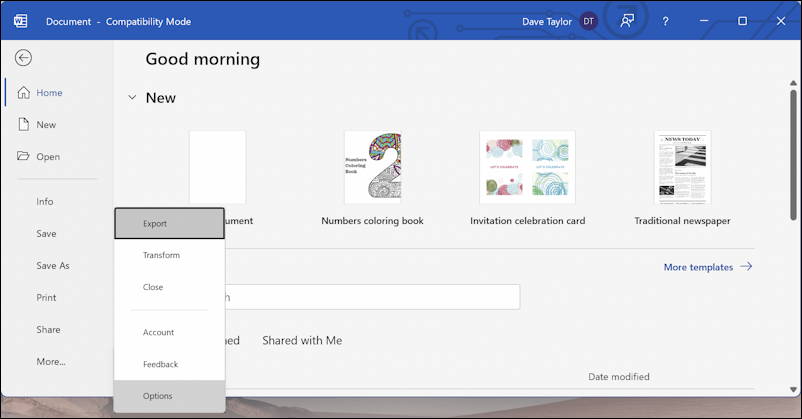
The very bottom of the list on the left side is “Options” or, as shown above, if your window is too short, it will list “More…” which brings up a sub-menu that includes the rest of the choices. Either way, click on “Options“.
CUSTOMIZE YOUR MICROSOFT WORD RIBBON BAR
When I jump to the options screen, here’s what I see:
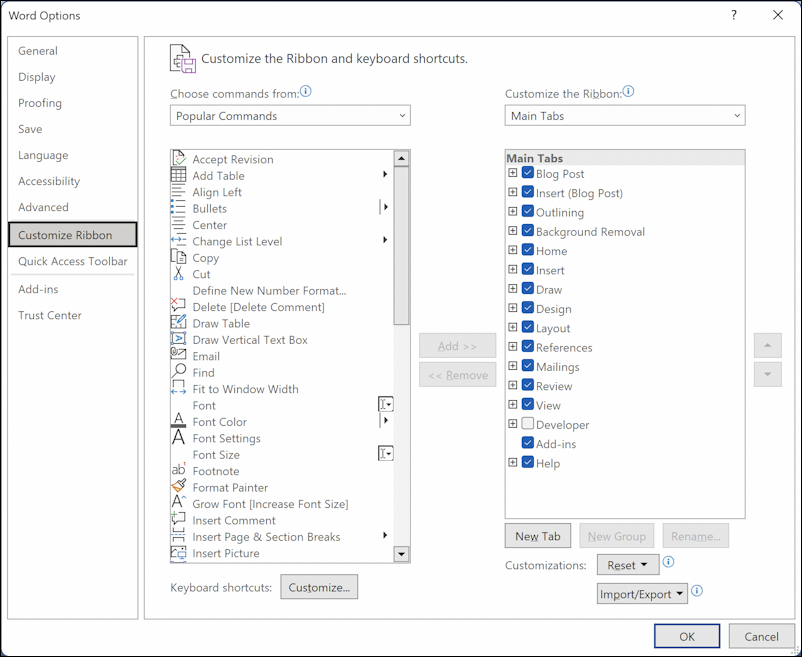
Suffice to say, there are a lot of ways you can customize your ribbon bar. Want to do so, but this isn’t the default? Click on “Customize Ribbon” on the left side. Then you can move things into the right box for them to show up, or chose and “remove” them to have them go back to the left box. I encourage you to remove features you never use since there’s no reason to have things be super complicated when you’re editing a document!
GENERAL OPTIONS AND SETTINGS FOR MICROSOFT WORD
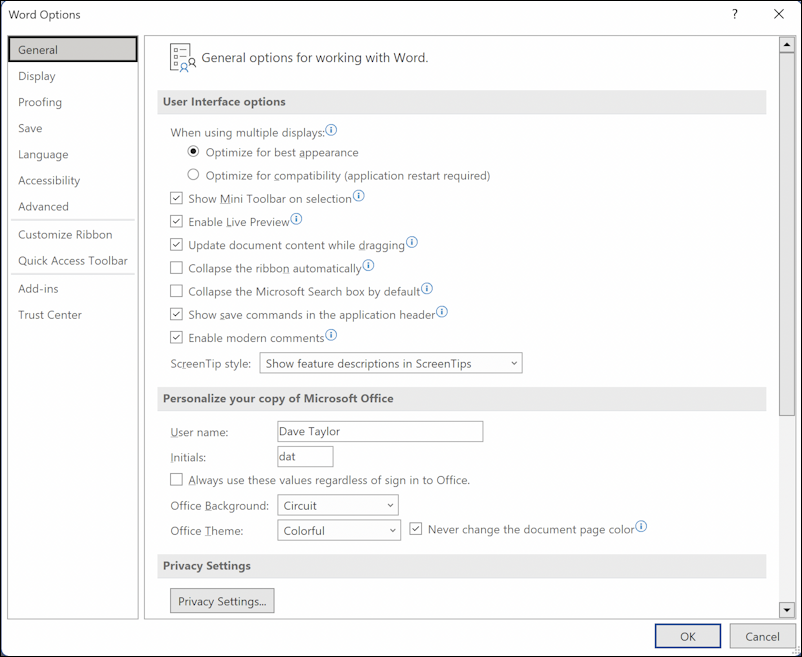
Done? Okay, it’s time to click on “General“, the very top choice on the left side. Now, finally, you’ll see that document author information:
So many options, settings, and preferences, does anyone really know all of them and how they impact your use of the program? 🙂
The good news is that the tiny blue “i” in a circle adjacent to each option will bring up a small tool tip window that explains what that option affects. I encourage you to take the time to go through and try changing a few things.
Then move down to the “Personalize your copy of Microsoft Office” and I bet that’s where your Uncle’s name is specified! I’m going to change mine as an experiment to these values:
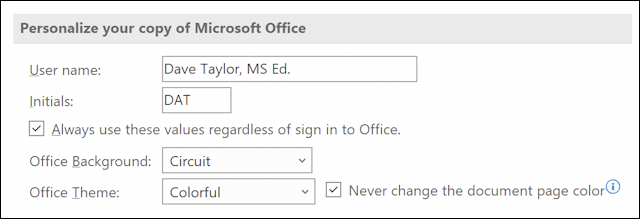
You can experiment with Office Background and Office Theme, but to be honest, I don’t really know where they show up. In my experimentation, Word stays the same pedestrian – and simple! – color scheme regardless. But author name? Okay, I’ve changed those. Also make sure to choose “Always use these values regardless of sign in to Office“.
Now I’m going to save Romeo & Juliet, send it to my Mac system, and open it up in Microsoft Word for the Mac. Here’s what it shows for author information:
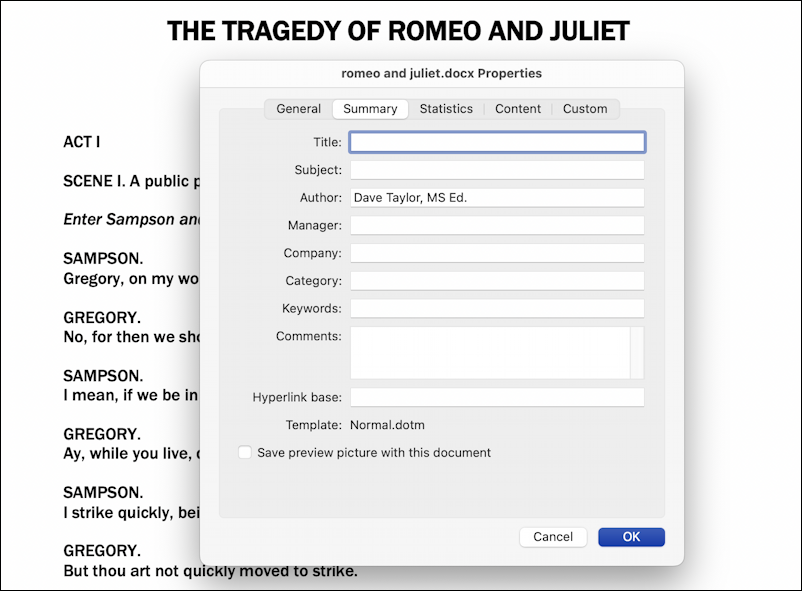
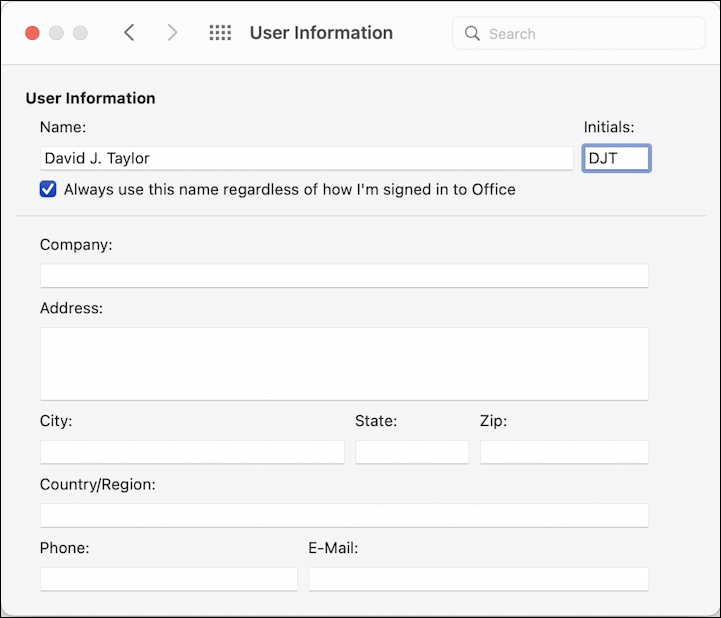
A little bit confusing that there are so many more fields, but you can see that the “MS Ed.” suffix has been added to my name. Mission accomplished. Oh, and on the Mac? No surprise, there are a lot more fields you can customize:
Now you probably know more than you ever wanted about user and author information in Microsoft Word on the Mac and PC.
Pro Tip: I’ve been using and writing about the Microsoft Office Suite for many years. Please check out my Office 365 help pages for lots of useful tutorials and user guides! Thanks.