
I just got an M1 MacBook and love it. I’m in school and really want to teach myself Linux while I have the computer too, but my friends are telling me that Linux isn’t compatible with the Apple M1 chip. Any help or advice?
For many years, Apple was building its Mac systems on Intel-based CPU processors, which meant that at the hardware level, they were compatible with Windows PCs too, almost all of which are built on Intel or AMD CPUs. When Apple introduced its own processor, the M1 (and now the M2), everything went out the window, as your friends have said. The new processor is known as an ARM or Advanced RISC Machine, but if you get an ARM-based Linux, you’ll be fine.
This holds true with Microsoft Windows too: There’s an ARM version of Windows 11 that works just fine within a virtual machine on the Apple M1 processor, and that’s most easily done with a virtualization program called Parallels Desktop. It’s a commercial program, but there’s a free download if you just want to test and experiment, at parallels.com.
The student license for the software is $39.99/yr, less than the price of a single textbook, but you should check with your school prior to buying it as they might have an institutional license for this software that would let you use a licensed copy for free!
HOW TO CREATE A NEW VIRTUAL MACHINE IN PARALLELS DESKTOP
There are two steps involved in getting Ubuntu Linux up and running on your M1 MacBook system. First, you need to create a virtual machine that will let the operating system run in its own window as if it were a full-screen and separate computer. Second, you need to download and install the version of Linux that you prefer. Parallels makes both steps incredibly simple, however. Launch the program and you’ll see the Control Center window:
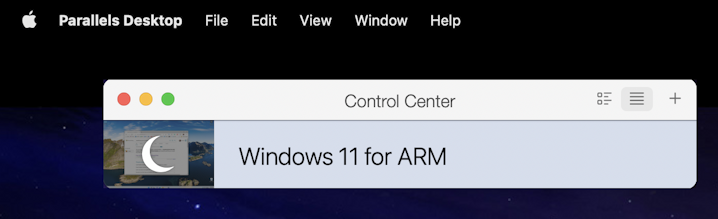
I’ve already installed Windows 11, as you can see, and it works very well. To add a new virtual machine, simply click on the “+” on the top right of the Control Center window or choose File > New…
Since you’re on the M1 architecture, Parallels will pop up a warning screen:
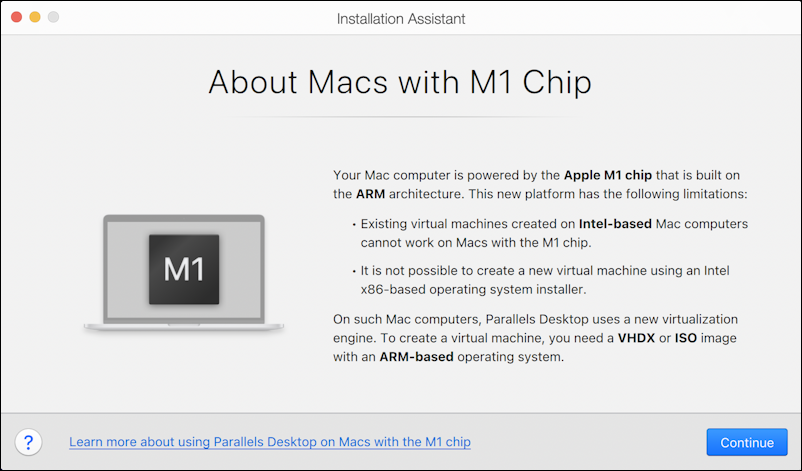
You can read through all the details or just move ahead by clicking “Continue“. Once you do continue, you’ll be delighted to see that Parallels makes it simple to pick and download a new virtual machine:

You can follow the rabbit hole to download a copy of Windows 11 for ARM, but we’re going to stick with Linux. Notice that downloading and installing any of four different flavors (or distros, if you prefer) of Linux is a single click away. You can choose from Ubuntu Linux, Fedora Linux, Debian GNU/Linux, or Kali Linux. I’ve always been partial to Ubuntu Linux, so that’s what I’ll choose with a click.

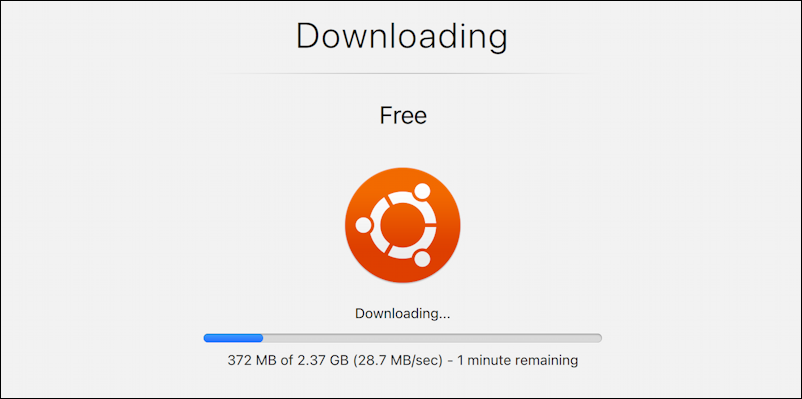
You’ll want to carefully note the space required: Do you have 7GB of space to spare on your Mac? If so, you can proceed by clicking “Download“.
The download is 2.37GB so it might take a while on a slower connection. We have a super fast connection here at AskDaveTaylor HQ, however, so it’s pretty zippy:
With no additional intervention, the completed download is immediately unpacked and installed, with the very next step being that the new Ubuntu Linux virtual machine shows up in the Control Center:
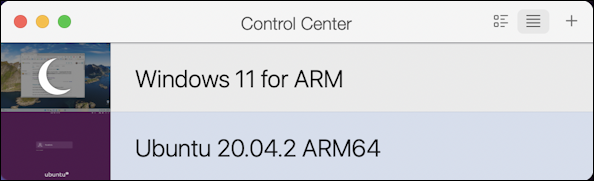
Double click on “Ubuntu 20.04.2 ARM64” and it’ll launch.
HOW TO RUN UBUNTU LINUX ARM IN PARALLELS DESKTOP M1
The Linux install will look a bit odd when it first launches because of the weird size of the default window, but you’ll see a login prompt:
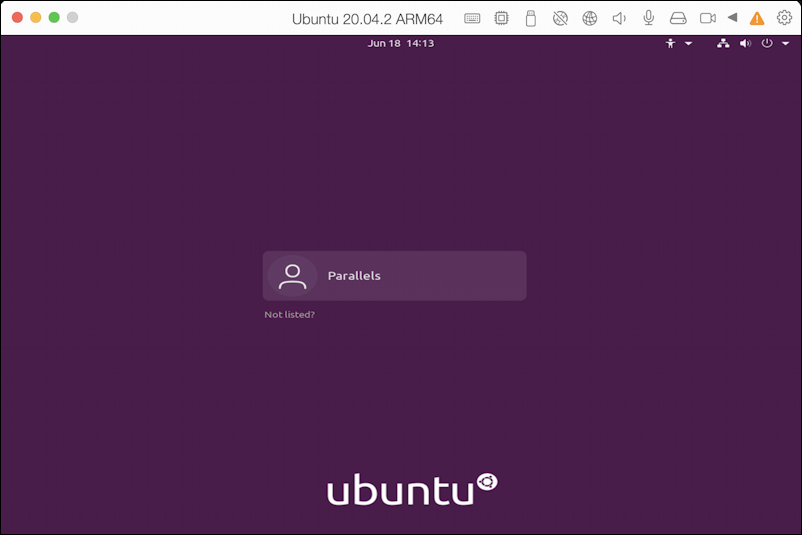
Worried you don’t have the password? Nothing to stress about. Click on “Parallels” and it’ll prompt you to set a password for this administrative account. Once you do, you’re logged in, and, again, it looks a bit odd, but we’ll fix that in just a moment or two:
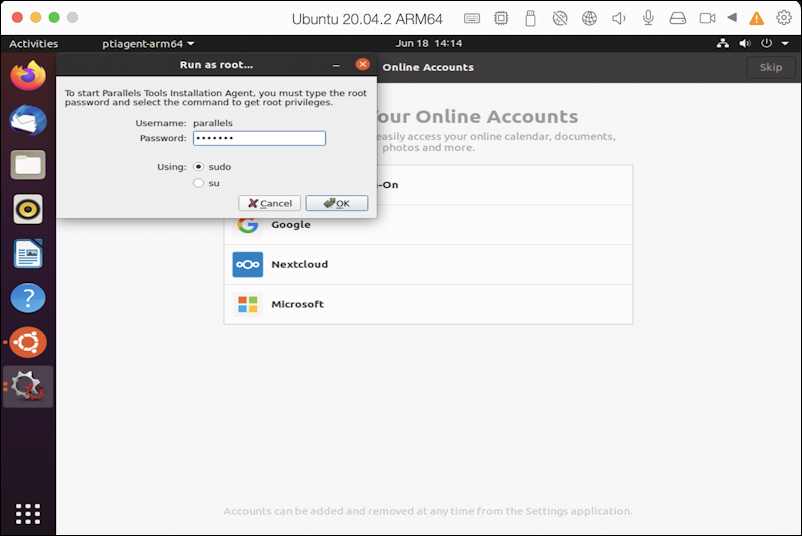
The first thing that Parallels Desktop does is try to install its own tools into the operating system. You most definitely want to do that! Simply re-enter your admin password into the “Run as root…” pop-up (as shown in the top left, above) and it will install everything needed.
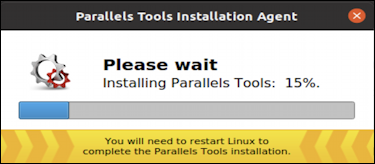
Once that’s done, restart the virtual machine and it will not only be ready to use, but it will look better since one of the key features of Parallels Tools is that it lets the virtual machine communicate with your Mac about things like screen resolution.
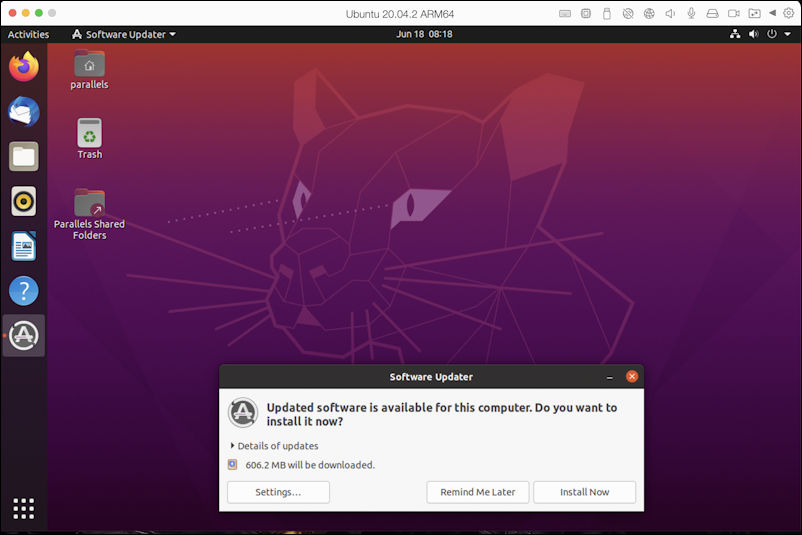
No surprise, the first thing Ubuntu wants to do is update itself. That’s pretty common. Click “Install Now” and once that’s done, you’re ready to explore and learn Linux. Have fun!
Pro Tip: I’ve been writing about Linux since the dawn of the operating system, and Unix before that. Please check out my extensive Linux help area for lots of additional tutorial content while you’re visiting, and don’t miss my huge Mac Help Library too. Thanks!
Hi Dave and Team,
As per the above instructions I have downloaded and installed Ubuntu through the Parallels Desktop.Its Icon is displaying in control center window.But after I click on the start button there is a prompt which is being redirected to Parallels Desktops to subscribe for windows apps in the “Run windows,Linux,and others” step.I have no option to skip this step other than click on “Try It Free” for 14 days.But on click of “Try It Free” there is a warning or information windows that describes the payment will be renewed through my Apple ID account.So my question to you is whether installing Ubuntu through control center includes this steps I have described or is there any I can skip this subscribing step and proceed with working on Ubuntu server as a VM !!
Thanks & Regards,
Sai Yoganand R.
I don’t recall any steps like what you describe when I installed Ubuntu. Check with Parallels, perhaps in the customer forums?