
I need to get some screen shots of our program running on my Windows computer. Now that I’m running Win10, what’s the smart way to do this so I can crop to size and save the screenshots as PNG files?
There are quite a few different ways to grab a screen capture or screenshot in Windows 10. You can get third party software, of course, and there are some splendid and powerful options, but there are also a lot of built-in options to explore. The easiest is to simply press Windows+Shift+S to grab the current screen, which then launches the handy Snip & Sketch tool, but you have to remember yet another windows key sequence and this one’s not too memorable.
I prefer to use the Action button associated with the Snip & Sketch tool, so let me show you how that works, click by click. First off, I hope you’ve noticed that the bottom of the Notifications pane on the right side of your Win10 system has a bunch of buttons along the bottom. Click on the tiny ‘cartoon talk balloon’ icon on the TaskBar to open up the Notifications pane if it’s not visible. Then, at the bottom:
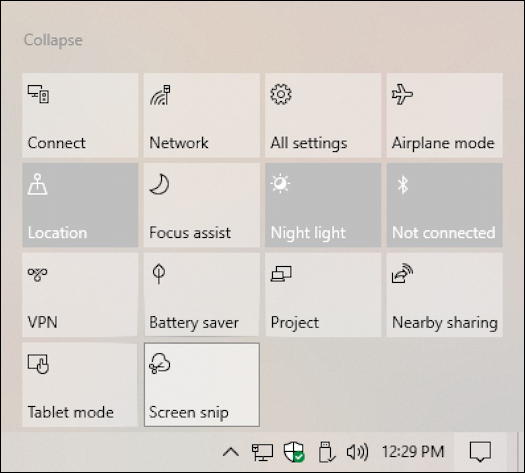
Really a great set of shortcuts for so many administrative tasks you use on the PC! But the one we’re interested in is “Screen snip” on the bottom row. Click once on it and the Notifications pane neatly slides away and a small box appears on the top of the screen:

Left to right, these let you click and drag to capture a specified rectangle on screen, click and draw to capture an irregular shape, capture a selected window or capture the entire screen. Changed your mind? The “X” lets you cancel.
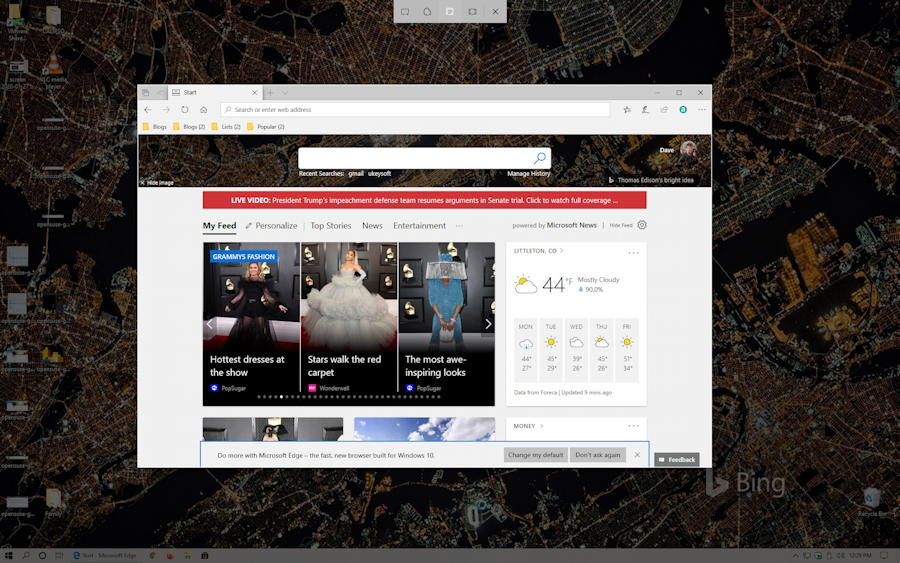
I’ll choose the Window option to capture the current Edge browser window on my screen. The entire screen is then dimmed and I can move the cursor within a window to select it for the capture. In this case, Microsoft Edge:
It’s a bit hard to see that the rest is dimmed, but notice that the control window remains at the top of the screen. Once I click to take the screenshot, the screen goes back to full brightness and a small notifications window appears on the lower right:
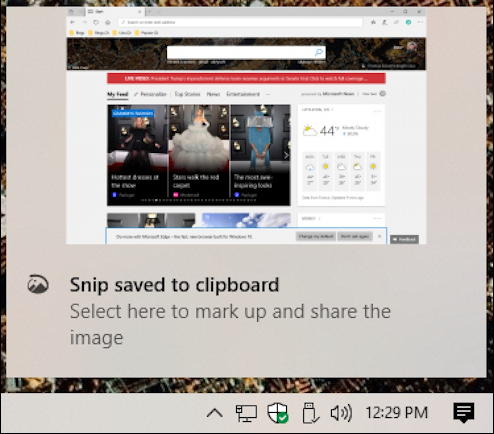
You can go into something like Microsoft Word and simply paste to add the image as is, but click on this notification to launch Snip & Sketch. It’s easy to work with and Microsoft even has a tutorial page if you want to become a power user:
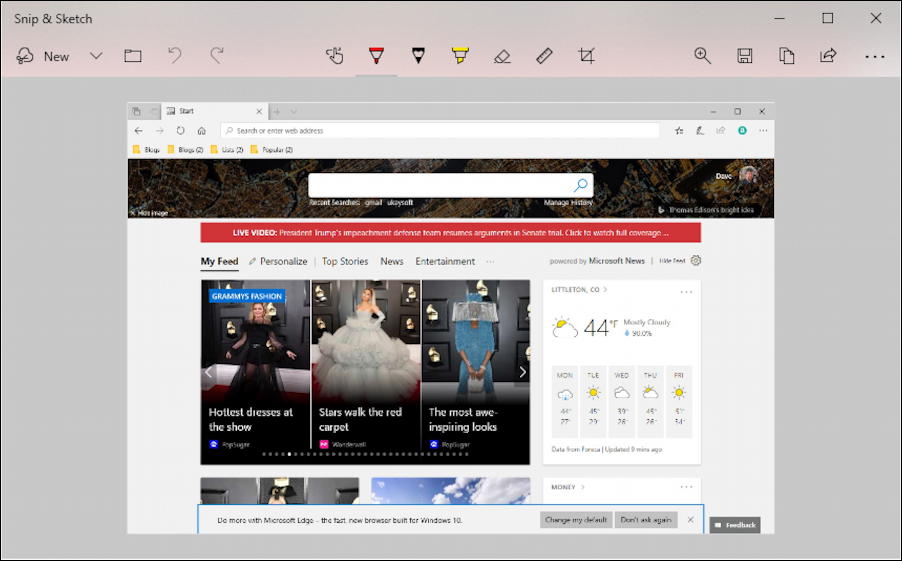
You can see all the familiar image editing options along the top, including cropping, and a raft of annotation possibilities. Or just save as a named PNG file. Click on the floppy disk icon on the right (you do know what a floppy disk is, right? 🙂 You’ll get a pretty standard Save As window:
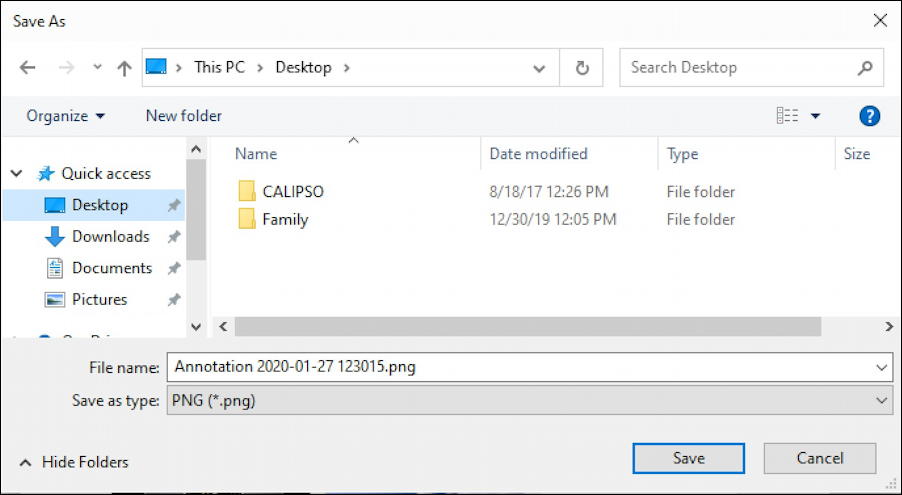
Key here, however, is to click on the “Save as type” menu to see all the options:

Pick between PNG, JPG and GIF, then go back and give your file a mnemonic name. Snip & Sketch isn’t great at that particular task (though it is factually accurate, I suppose). Done? Click on “Save” and your screen capture is saved and ready to share, email, incorporation into Web pages, or whatever else you would like. Not too bad, really, once you know about the Action button.
Pro Tip: I’ve been writing about Windows since before Windows 10 hit the scene. Please check out my very extensive Windows help area for tons more tutorials!
Dave,
When I release the button after highlighting the desired crop, the screen immediately returns to full brightness, but there is no notification at the bottom right. What am I doing wrong?
Hi Dave, that’s a great tip and I followed your instructions. Unfortunately “screen snip” wasn’t there for me. I could see all the other ones (tablet mode, battery saver, nearby sharing etc.etc. but no screen snip icon. Any ideas?
Kind regards, Helen
Hi Helen! Right-click on the area just below your set of shortcuts in the Notification pane and choose “Edit”, then “+ Add”. Should be one of the available options!
What version of Win 10 is this? I have the Version 1903 update on Windows Home Edition, and the Snip-It Tool isn’t listed at the bottom of my Notifications area as it is here. I do have it pinned to my task bar on the bottom left of my screen. Is putting it in the Notifications area a change in the 1909 update, which I don’t yet have?
Right-click on the area just below your set of shortcuts in the Notification pane and choose “Edit”, then “+ Add”. Should be one of the available options!